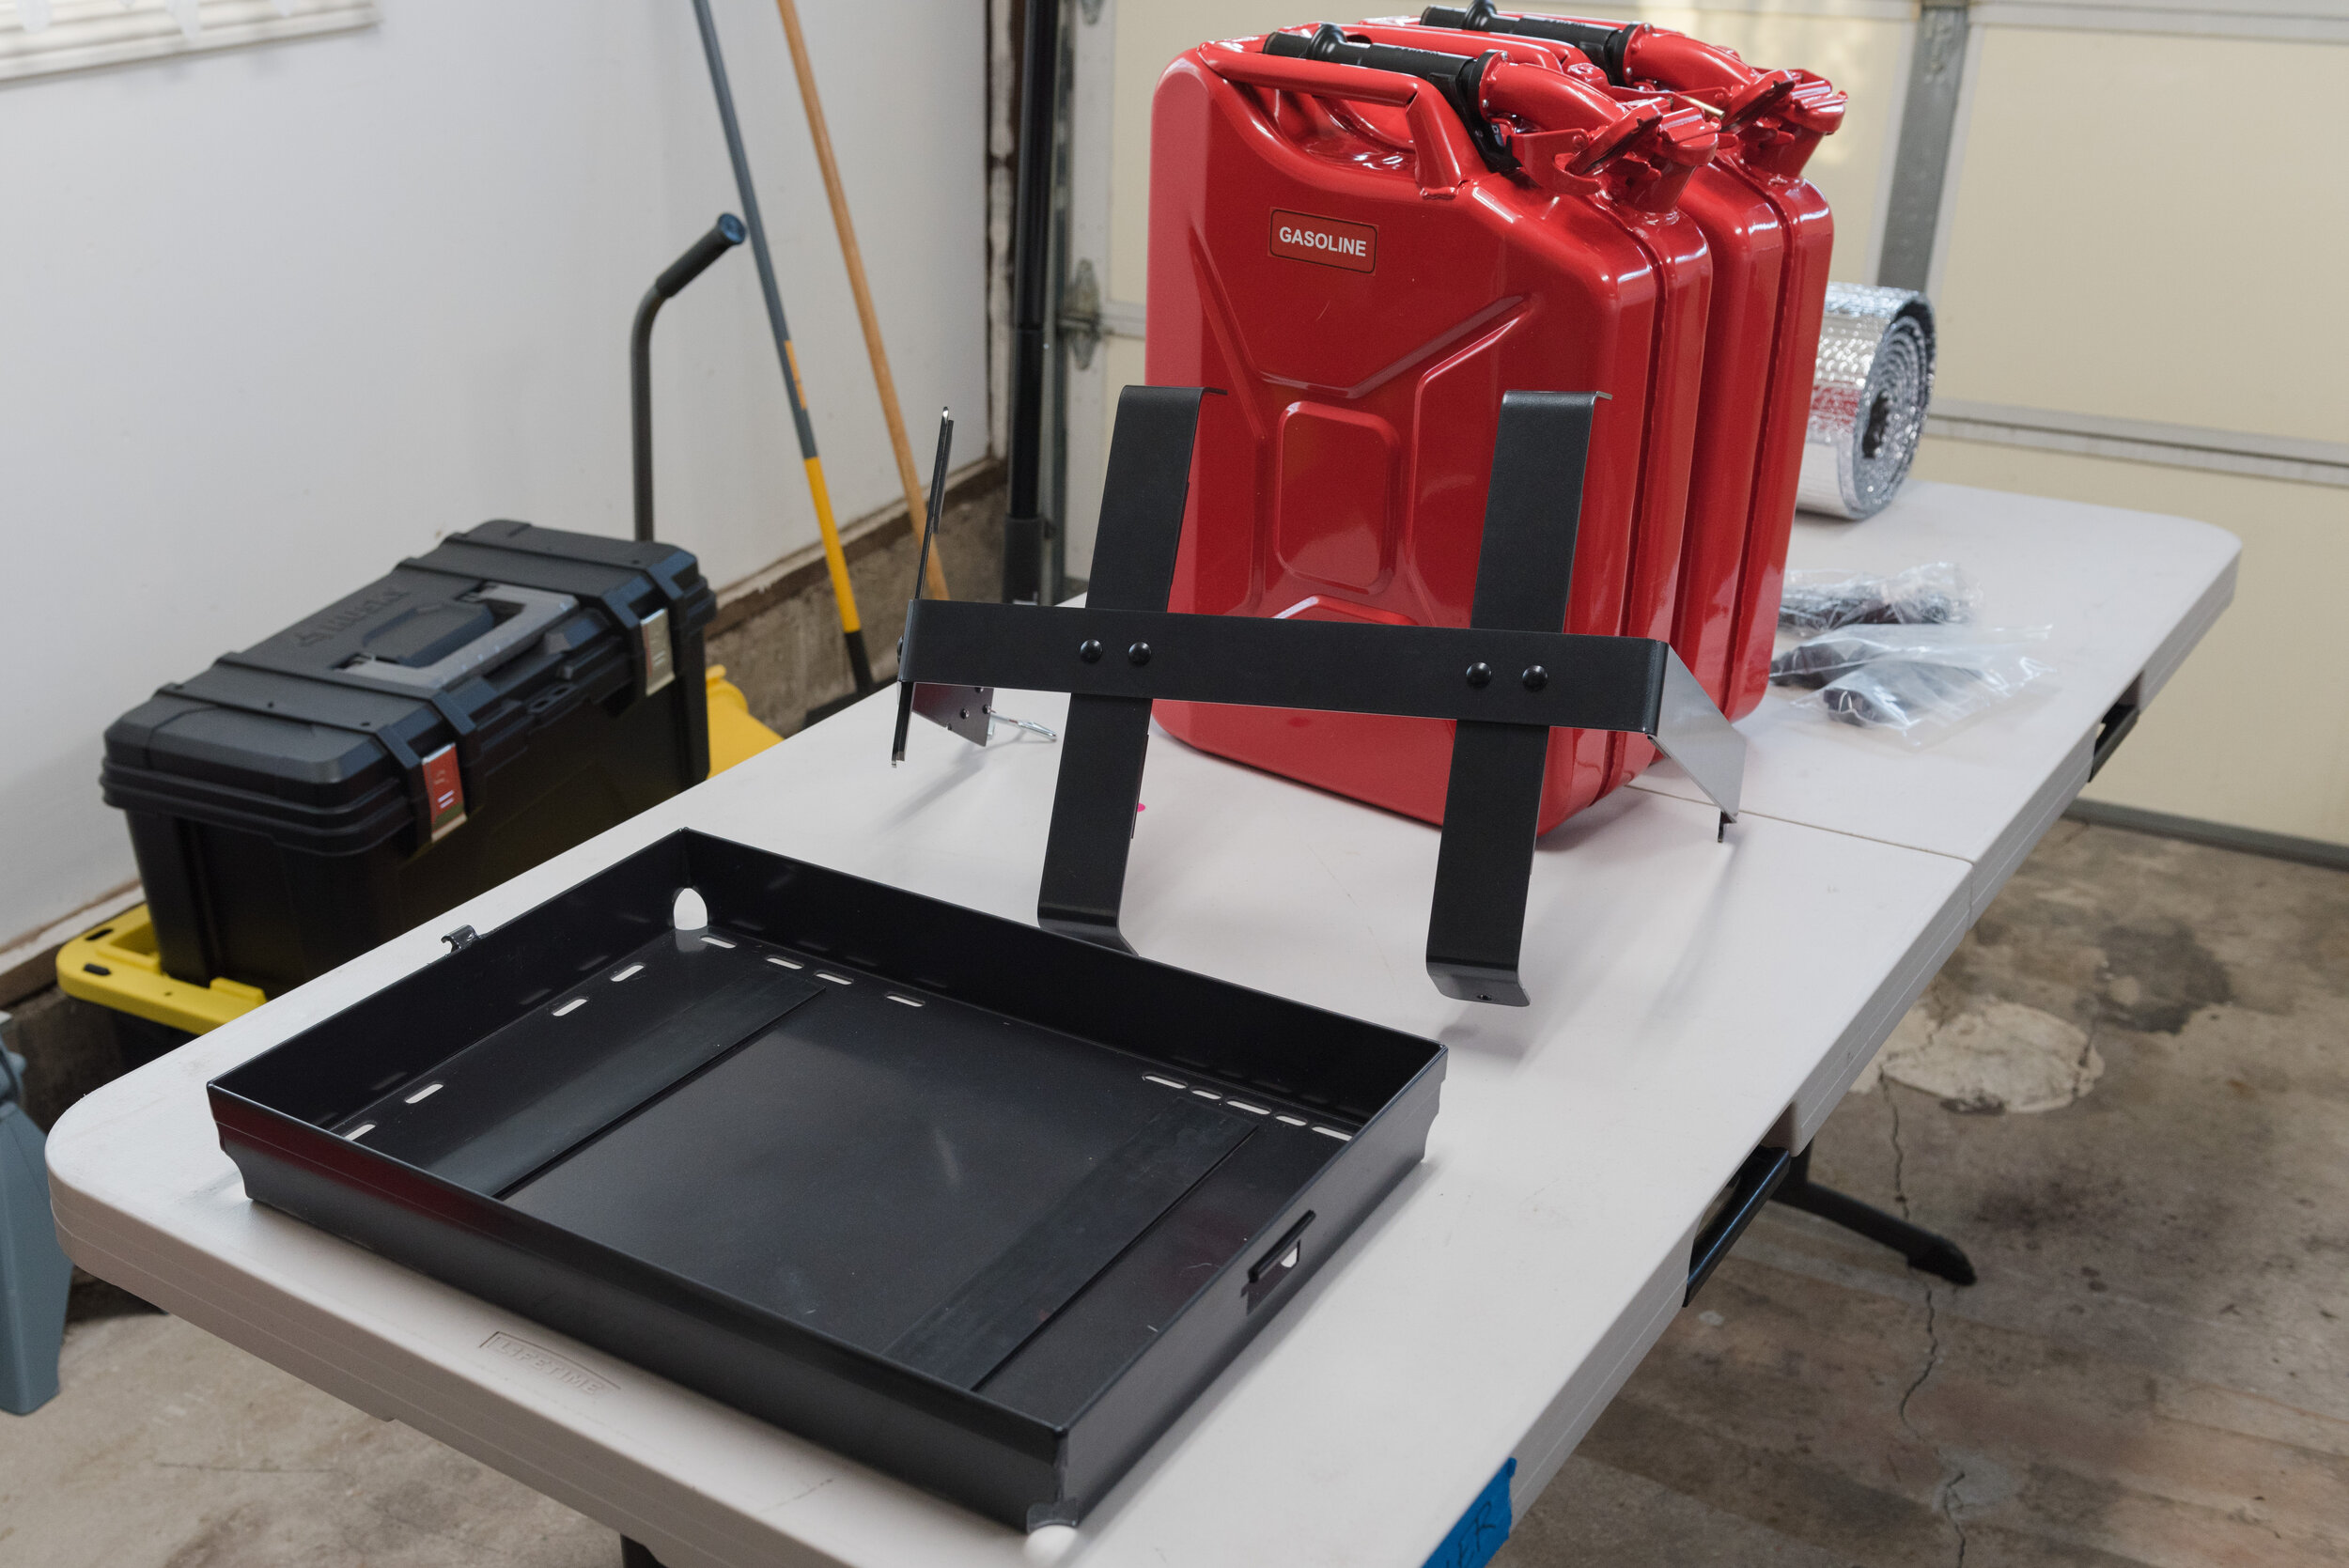
A few weeks ago I added the C4 Fabrication Summit Hatch Ladder to our 4Runner. Regrettably, I forgot to weigh the ladder before installation. Whatever its weight is, this addition further loaded the OEM lift gate struts, which then would not fully open under their own power and required a little coaxing to open during the initial 10 to 15 degrees of motion. Furthermore, after a little bit of research, I became aware that additional load to the lift gate struts could cause premature failure over time. This made sense, given that the struts were handling a load larger than they were originally designed for.
So I did some research to replace the OEM struts with stronger aftermarket units. Most of this research pointed to Lift Supports Depot, who appear to be a well trusted and referenced aftermarket strut manufacturer/supplier in the 4Runner online community. It was very helpful that I could search for struts by make, model, and year on the Lift Supports Depot website. A search for struts available for the 2017 4Runner can be found here.
Although there are a few options available on Lift Supports Depot’ website, their main difference is the amount of force each strut is able to exert (in lbs). WIthout thinking much of it, I took the easy way out and purchased their PM3489 Gas Charged Liftgate Lift Supports which are supposed to function well with the Gobi ladder. Although I don’t have a Gobi ladder, I figured the new struts should perform better than the OEM struts anyway. Great reasoning, right? Anyone can purchase directly from Lift Supports Depot, but I ordered a set Amazon to take advantage of Prime free shipping. Overall, the new struts were easy to install - it probably took less than 10 minutes to change both (with some photographing in between).
It is best to replace struts in pairs, as having one weak strut or one strong strut could lead to premature failure of the stronger strut (because it will be more heavily loaded). I did not have assistance during installation and needed to keep the rear gate fully open, somehow, while replacing the struts. So… in lieu of a friend, I called up my buddy Ladder, gave it some padding, and propped open the rear hatch. Note, photo was taken after replacing struts.
It is best to remove one strut a time. The struts are held in place by nylon ball socket ends with metal spring retainer clips. The first step is to remove the spring retainer clips from the top and bottom of the strut using a small flat-head screwdriver. I removed the clips completely, although I think you could also partially remove them just enough so the clip does not wrap around the mounting ball… that might have been a better approach since it Is difficult to re-attach the clip to the strut connector. Anyway, the new struts do not need these clips - so it’s not the end of the world if they fly away and are hidden in a bush somewhere. After removing the clips, firmly pull out the bottom ball socket of the strut from the ball stud on the vehicle. The top ball socket will also disconnect once the bottom ball socket has been removed. Remove the strut.
Now to it is time to attach the new lift gate struts, which have metal ball socket ends with a much simpler removable metal spring clasp. First, remove the metal clasp from each ball socket end. Then install the new strut in the same position as the OEM struts (piston side down) onto the vehicle. Re-install the metal spring clasps onto each metal ball socket. This keeps the socket from sliding off the ball stud (VERY IMPORTANT!!!) during motion. If the support you are using to keep the lift gate up is not tall enough to fully raise the lift gate, then you may need to use one arm to raise the lift gate higher and the other arm to install the strut and metal spring clasps. Be careful - my chummy buddy, Ladder, fell on me when I did this for the first time without thinking.
Now the lift gate opens up smoothly through its full range of motion. I’m very pleased with this retrofit.
Conclusions and Recommendations:
Having a friend or ladder to help with this install is essential.
Don’t throw away your OEM lift gate struts. Sell them to someone who wants to replace their failing struts to remake some of this investment. Think I basically gave away mine at $20, but that was about half the cost of the PM3489 struts.