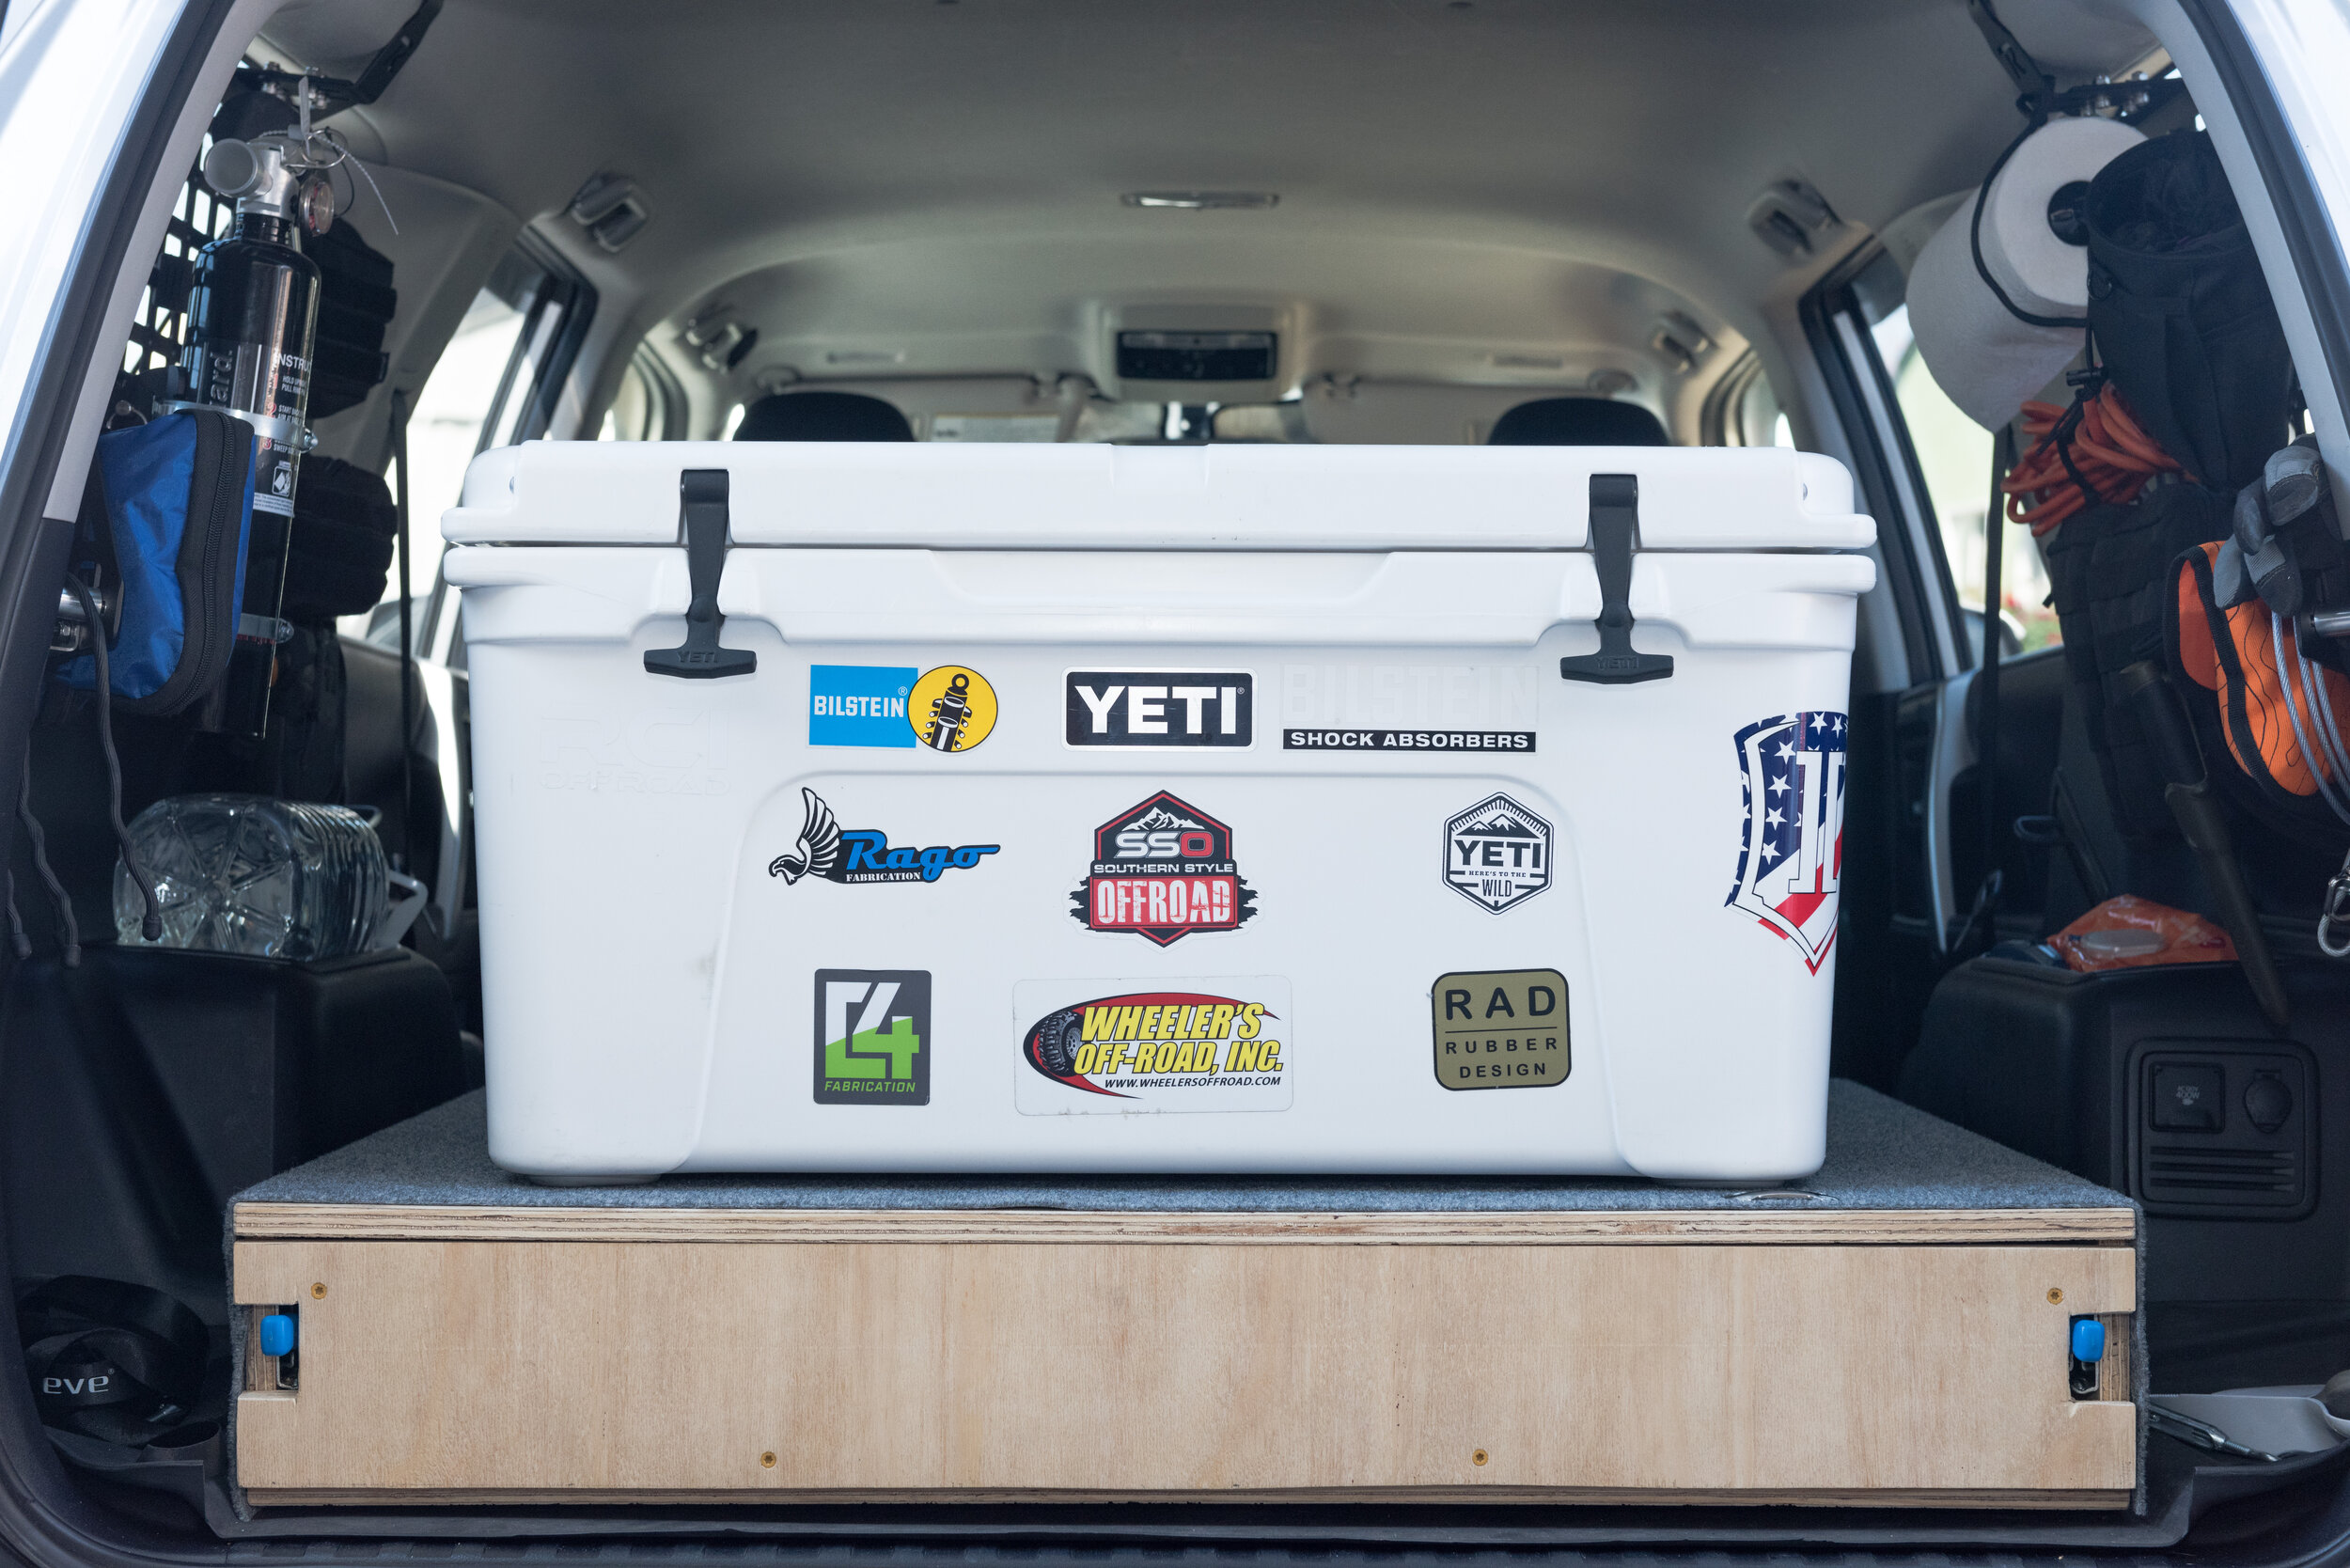
We ran out of space in the 4Runner’s rear cargo area during a recent camping trip with just my wife, myself, and our dog. Our load included a kennel, Yeti Tundra 65 cooler, box of canned and other non-perishable food (and dog food), tent and sleeping gear, a camp kitchen, a few gallons of water, and duffel bags of clothes. By “ran out” I mean that all of our gear just slightly blocked the rear window (I prefer to see what’s behind me while driving) with the rear passenger seats up.
Based on this experience (and the poor influence of social media), I decided we should invest in a roof rack if we plan to carpool and camp with other friends or family in the future. Not only would a roof rack provide valuable storage space for cargo, but it would also be a future investment for additional accessories such as water or gas cans, auxiliary lighting, awning, traction recovery gear, or potentially a roof top tent in the far future… Haha, big dreams! In other realistic plans, it could also be used to carry lumber or any other large bulky items in the future. The in-laws also have a car-top carrier that could be used - woohoo!
All Toyota 4Runners come with a pair of roof side rails straight from the factory. The side rails are 5-feet long and span the rear 2/3 of the vehicle’s cabin. One option was to purchase OEM (plastic) or aftermarket (typically steel) crossbars that slide into the existing rails. At worst, the roof rack would have two crossbars available and at best about five crossbars. Even then, the rack would only extend the length of the existing side rails, which is only up to the B pillar. I wasn’t satisfied with that length - I wanted the roof rack to extend the entire length of the cabin. Listed are characteristics I wanted from a roof rack system:
Runs full length of vehicle cabin.
Wind fairing that mounts (fairly) flush to the roof line to minimize wind noise.
Static load capacity of at least 700 pounds (approximate weight for at least a roof top tent, two persons, and a few miscellaneous cargo bins). Yes, thinking ahead.
Majority aluminum construction (less steel, less rust).
Spaced out crossbars (versus mesh) as tie down points for loads. Also easier to clean roof surface.
Modular components (easy shipping, assembly, mounting, replacement of parts etc). I needed to get this shipped to my apartment and then transported elsewhere to install. A single-piece roof rack would not work).
No-drill front mount (many full-length racks require drilling holes for front mounting pads). More holes, more problems - though additional mounting holes mean a more stable rack on the front-end).
Low profile.
All of these requirements cut down the number of options available on the market. The product decide on was Southern Style Offroad’s Full Length Roof Rack. This rack in particular met all of those needs and more. The rack sits about 1.75” higher than the factory side rails, and has modular steel side rails and aluminum crossbars. It’s great that the crossbars won’t rust; I anticipate abrasive damage to the crossbars more than the side rails which would damage powder coated steel crossbars, allowing rust to form. The front mounting pads have rubber feet that rest against the roof’s rubber trim pieces. SSO offers anodized black aluminum crossbars and black oxide fasteners as options, but I opted for the default silver components since our 4Runner is Classic Silver. The rack also comes with four mounting points (two on each side rail) for BajaDesigns or Rigid scene lights - I have no plans to fill these blanks until I decide an auxiliary lighting setup is necessary.
I ordered the rack from SSO on November 19, 2018 and took advantage of a Black Friday sale, which essentially paid for shipping. About a month after I made the order, I contacted SSO to include one additional 3” crossbar and two additional 2” crossbars after discovering that it took 11 total crossbars to fill the rack (comes default with seven 3” and one 2” crossbar). The additional crossbars were able to added to the shipment easily. Naturally, given Black Friday influx of orders, the shipment was delayed beyond the typical 6-8 week window. Some of this was beyond SSO’s fault as the crossbar manufacturer shipped SSO’s order of crossbars elsewhere. I received the rack a few months later on February 5, 2019. When I finally received the package, I opened it up to find that all the parts were individually plastic wrapped and encased in expandable foam packaging (sprayed in as liquid designed to mould around the package’s contents).
Sadly, during shipping, one of the wind fairing’s edges had jammed into a 3” crossbar slot, thereby damaging both components. Thankfully I had purchased shipping insurance from SSO, which protects against all damage or loss incurred during shipment. After a few emails with SSO and providing appropriate documentation (description and photographs), I was told the insurance would cover the cost of replacement parts and shipping. I elected to claim a monetary refund since both the wind fairing and crossbar were not damaged beyond use. For the wind fairing damage, which was 75% cosmetic (a corner had a minor bend), SSO informed me that I could paint over the damage with Rust-oleum Textured Fine Textured Finish #7220 Black, which would roughly match the powder coat. So I made a trip to Home Depot and painted over the damage the next day. The aluminum cross bar is slotted in all four sides (not including tapped ends), so I just flipped it over during installation so the damaged side faces the 4Runner’s roof.
Another issue I experienced was that all nine of the 3” crossbars were tapped in metric for M6x1.0 bolts rather than 1/4”-20 bolts. This appeared to be the fault of the crossbar manufacturer, which led SSO to send incorrectly tapped bars to multiple customers. I reached out to SSO and they apologized (again, not their fault though!) and offered to send me new metric button head bolts and metric-tapped 2” bars.
Despite these setbacks, Installation was straightforward - instructions were provided via SSO’s website, but here is a quick summary of what I did.
Unpack.
Unpackage components (all parts were individually plastic wrapped, except for fastening hardware which were packaged by type).
Use plastic trim remover to pop off front and rear OEM rail covers. Unbolt hex nuts and remove OEM side rails.
Clean mounting location with a damp cloth. Do not push liquid or dirt into the bolt holes or plastic locators.
Run a heavy bead of silicon (provided with roof rack) around the plastic locators, then place the aluminum spacers over the locators and push down firmly. Make sure the locators are flush against the roof and they are level to each other.
Wait for the silicon to dry a bit and put together the SSO side rails and wind fairing. The photo below shows the driver’s side rail incorrectly bolted together. I had to swap the footing plate positions after the photo was taken. This includes fastening the rubber feet and mounting plates to each side rail, and assembling the wind fairing with two brackets and a rubber edge trim (cutting to size). Do not completely tighten all hardware.
Mount the two side rails onto the roof using the OEM hex bolts. Do not completely tighten down the hex bolts, but they should be tight enough to keep the rails on the roof without it torquing the bolts out of place.
Install vinyl on roof where edge guard from fairing will touch. The vinyl needed to be cut and trimmed to size (definitely messed up install of the vinyl - a good number of air bubbles and warped vinyl, but it’s ok). If any air bubbles form, pop with a small pin and push out the air with a plastic rewards (i.e grocery store) card.
Install the wind fairing onto the side rails. This took some finagling as the fitment was very tight.
Install a 2” crossbar behind and in front of the sharkfin antenna. Install 3” crossbars at all other locations except the two crossbar locations above roof mounting points. Tighten all roof rack cross bar, fairing, and footing fasteners.
Align/square up roof rack. Remove hex bolts from roof mounting points one at a time, add silicon along last 3/4” of each bolt (to fill aluminum spacers with silicon) and thread back in. Repeat for remaining seven hex bolts.
Install last two cross bars - one 2” bar at rear in front of sharkfin antenna and one 3” bar in middle of rack.
Conclusions and Recommendations:
Very little difference in wind noise post-installation (driving 65+ mph… heh). Most wind noise comes from the window visors. Have not noticed a difference in average mpg - still averaging about 18-18.5 mpg depending on city and highway driving.
The rack has space for eleven crossbars. Best configuration is to mount two 2” crossbars in the rear (one behind and one in front of sharkfin antenna) and nine 3” crossbars in all other slots. This ensures the crossbars do not touch the sharkfin antenna.
Accidentally ordered a wind fairing with light bar cut-out, but it looks fine now even though I don’t have plans to add a light bar in the immediate future. The fairing only fits 40” light bars and comes with steel light bar mounts.
When installing crossbars, lay a doubled-up moving blanket and one of the crossbars on the roof, running parallel to the vehicle. Not only will it protect your roof when installing the crossbars, but you will also be able to lay the crossbar you are installing on top, which will align the crossbar taps to the side rail holes.
A few side rail holes were improperly powdercoated - not a big deal to me. I sprayed Rustoleum into a paper cup and used a small 1/8” tip artist’s brush to apply the paint to the bare metal.
Purchasing eyebolt hardware from SSO to mount onto the rack is expensive. I found the cheapest route was to order t-nuts online and zinc coated C15E M6x1.0 13mm low-carbon steel eyebolts from Grainger. Flat and lock washers can be purchased from your local hardware store.
SSO provides outstanding customer support. Reliable email and phone call interactions, and quick responses. Typical response time within 24 hours.
Check out how to make some cheap mounts for MaxTrax MKII traction boards.
More photos taken after installing new metric stainless steel button heads and eyebolts. (Yes, I torqued down the eyebolts too much and the locknuts are squished - thereby defeating their purpose. Trying to find a better replacement.)