We purchased our 4Runner pre-owned from the dealer and it (unfortunately?…) did not come with the OEM all-weather floor mats. However, that was probably best as the OEM all-weather floor mats have no side lips and are pretty much incapable of effectively containing liquids, mud, dirt or sand. That prompted a search for aftermarket all-weather mats to cover the carpeted front, rear, and cargo areas!
There are really only two major competitors in the auto floor mat business - Husky Liners and WeatherTech. A few smaller competitors or knock-off brands are also available… for around the same price range. In the end, I chose to purchase the Husky Liners Weatherbeater Front and Second Seat Liners, and Cargo Liner for the following reasons:
Overall much cheaper than WeatherTech (at the time I purchased them)
Covers entire footwell block (driver’s side)
Lifetime warranty
Better looking (personal taste)
Brand loyalty from previous purchase for other vehicle
The front and rear mats arrived in one rectangular box with the front mats stacked on top of each other and the rear mat folded in half. Since the cargo liner is fairly large, it came rolled up in a long rectangular box. The rear and cargo liners should be flattened out before installation, and the easiest way to do that is to flip them upside down on a hard level surface for an hour or two. They can be installed without flattening them out, but I had time to kill, so…
Front Seat Liners
The driver and passenger side front seat liners are unique and lock in place using factory-installed twist-locks on the 4Runner floor. Furthermore, it is almost impossible for the liner to slide around since the bottom of each liner has small teeth/nibs that grip the carpet. The easiest way to install (or remove) each front liner is to fully slide back the driver and passenger seats, place the mats and lock them down, then re-adjust the seats. It is possible to install/remove the mats without moving the seats, but you will have to bend the mats diagonally, which can drop crud all over your carpet and/or seat.
I’ve been very satisfied with the front liners so far. They catch 99% of the dirt/debris I bring into the rig, and definitely that cup full of water I spilled that one time… Also, they give my SR5 a more rugged appeal. Haha!
Rear Seat Liner
Since the rear seat liner is a single piece, it is a little unwieldy to install. The first step is to fully slide forward both the driver and front passenger seats. Then, place the rear liner down and readjust the seats into position. Like the front liners, the rear liner has small nibs on the underside to catch the carpet and prevent sliding. It is very difficult to install the liner without moving the seats, and likewise almost impossible to remove without dropping debris.
I’ve not abused the rear liners much, but they’re a good investment for the few times the rear passenger seats are occupied. They fit well and cover all of the rear passenger carpeted areas, in addition to about 1/3 of the space under the driver and front passenger seats.
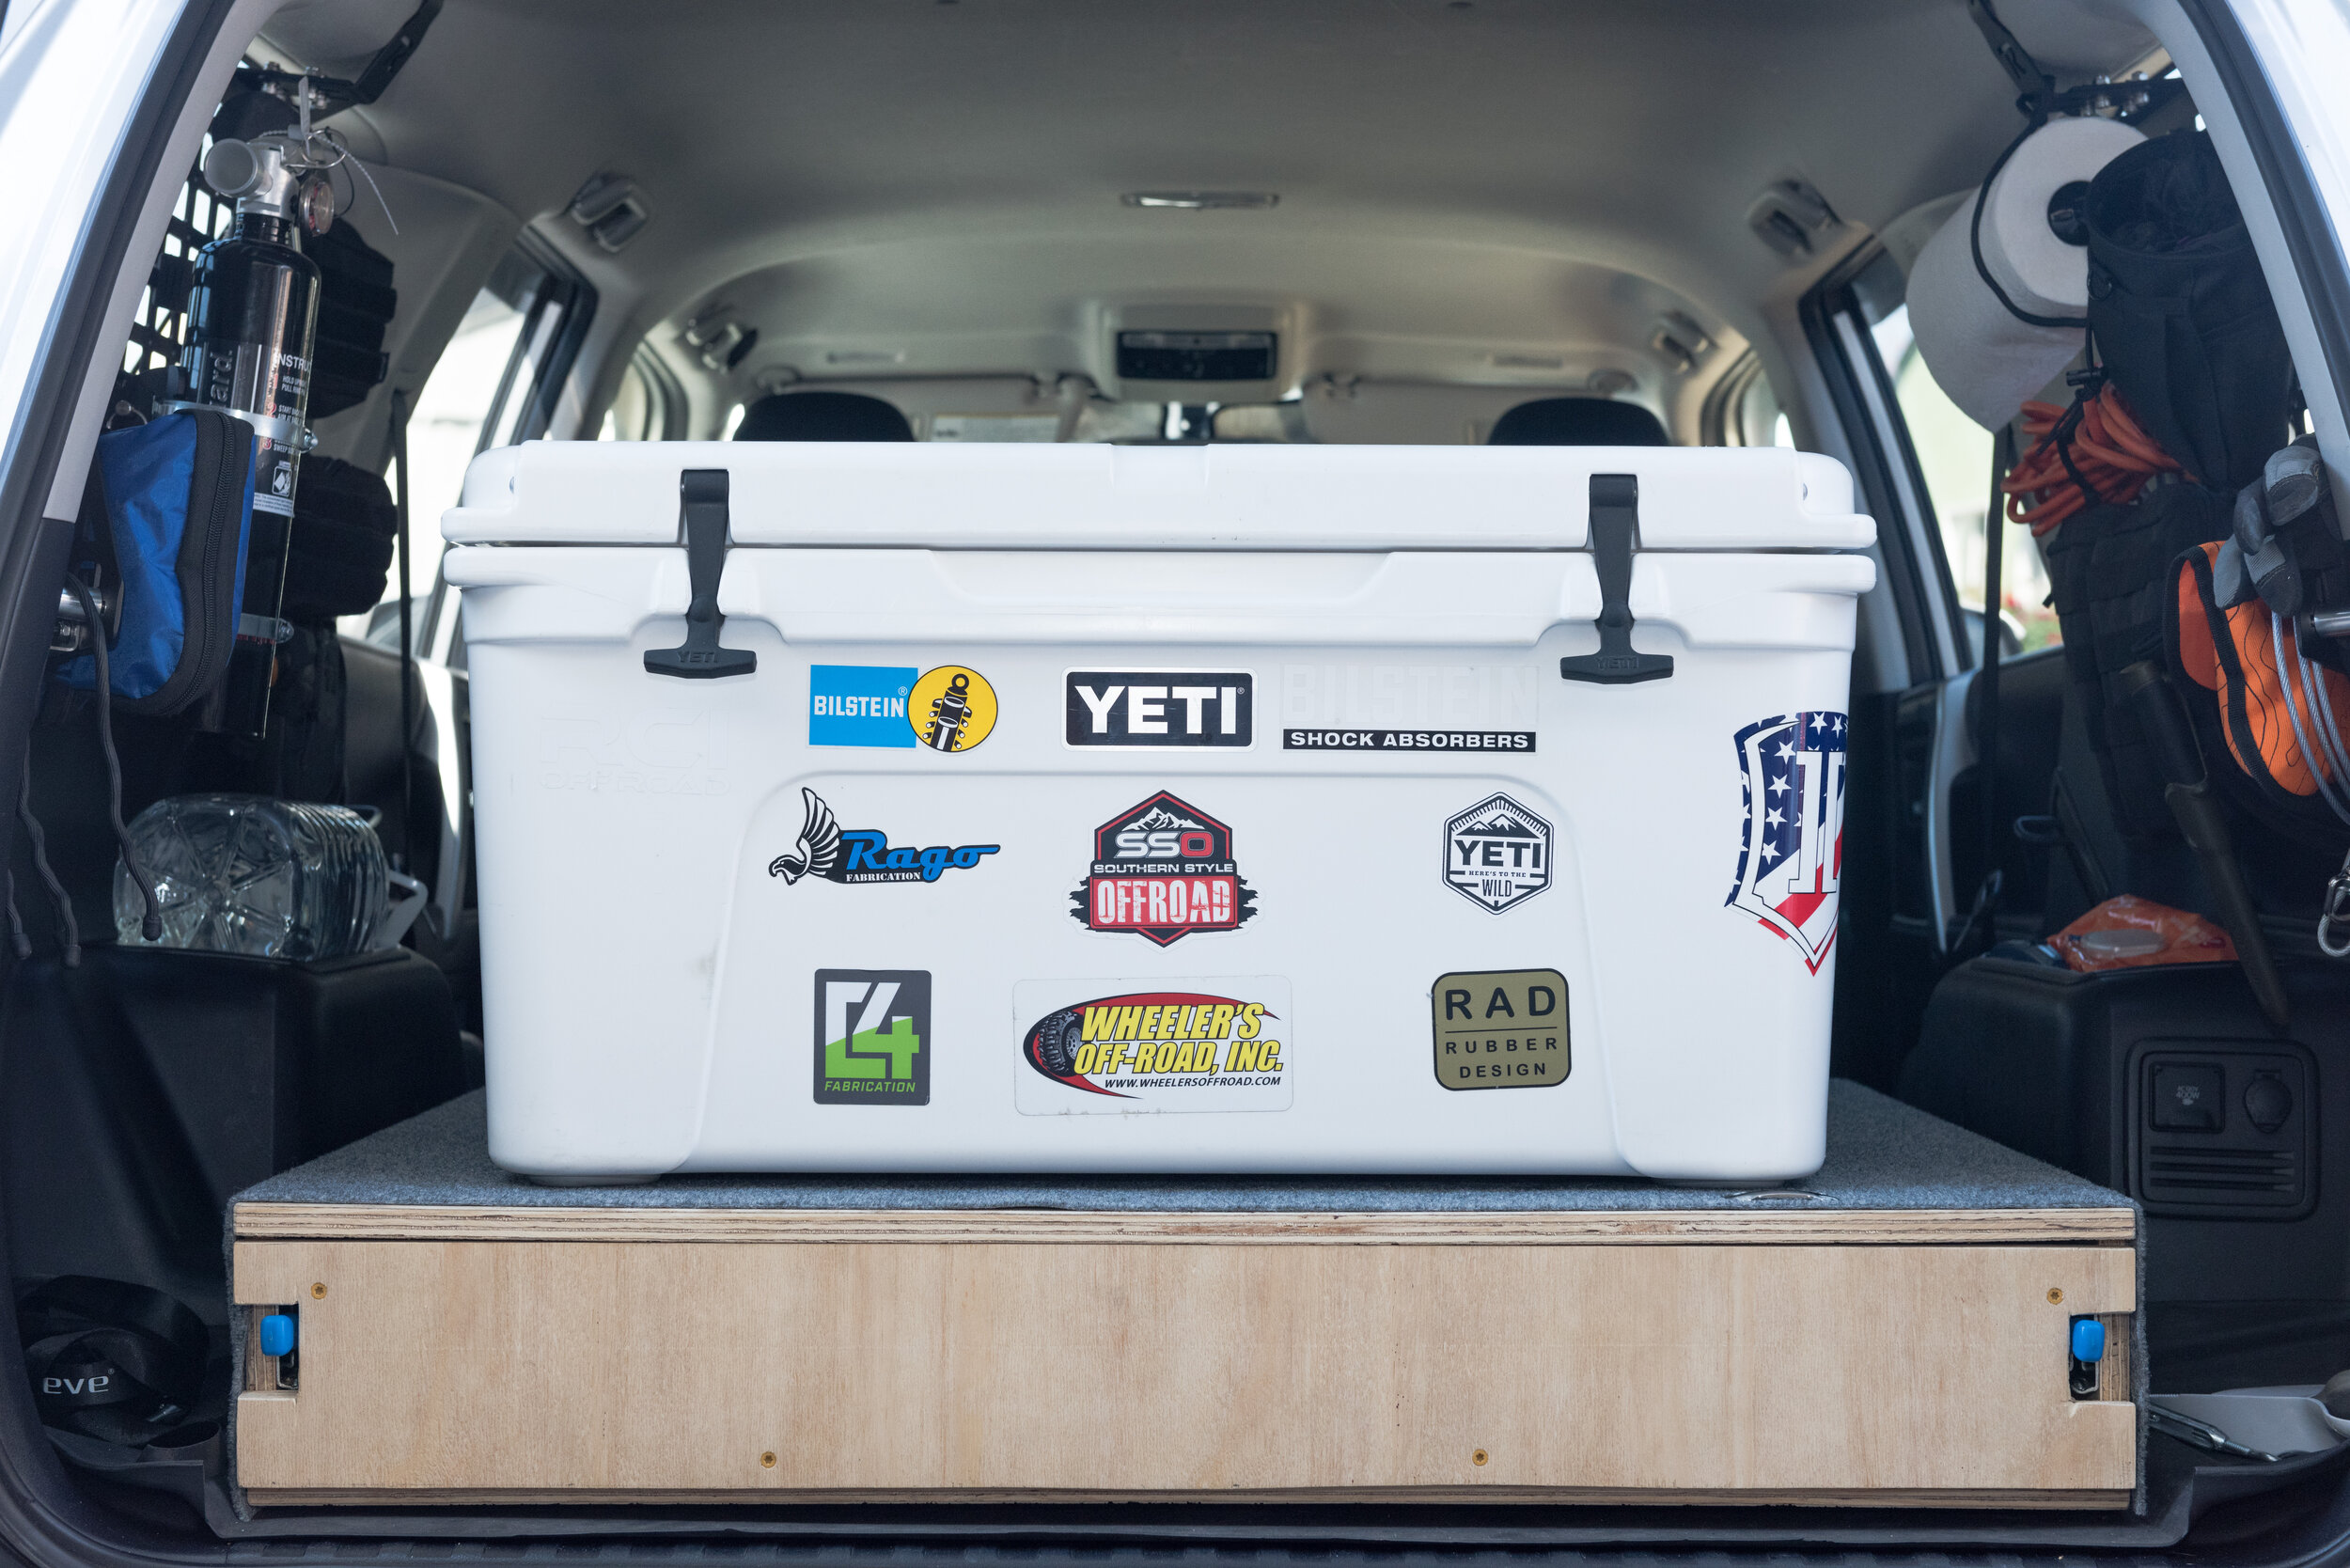
Cargo Liner
Unfortunately I do not have any photos from before I installed my DIY drawer system, which I have since installed atop the cargo liner. My thought is that it’s better to protect the cargo carpet with something than nothing… so I left it.
The cargo liner itself is very easy to install - just remove all the junk in your trunk and slip it in place. I found that since the liner lacks the nibs otherwise found on the front and rear liners, it tended to slide around especially when dragging a cooler in or out of the trunk. One caveat is the lack of nibs makes the cargo liner a convenient “slide” when trying to load large bulky items… like a drawer system… so they don’t catch on the carpet.
Note that the cargo liner as-is covers the factory D-ring tie down points at the rear of the cargo area. However, a sharp utility knife will easily carve through the cargo liner plastic to allow access to the tie-down D-rings at the rear of the cargo space. I had to cut those away to tie down my drawer system using turnbuckles.
Cleaning the Liners
Cleaning each liner is simple. I usually shop-vac big debris off each liner before removing them from the vehicle. After removal, I spray down each liner with water and use a soft brush and generic car wash soap to remove any remaining grit. They’ll usually dry in full sunlight within 10 minutes (be sure to flip them over, otherwise one side will still be wet/moist), and are ready to get dirty again.