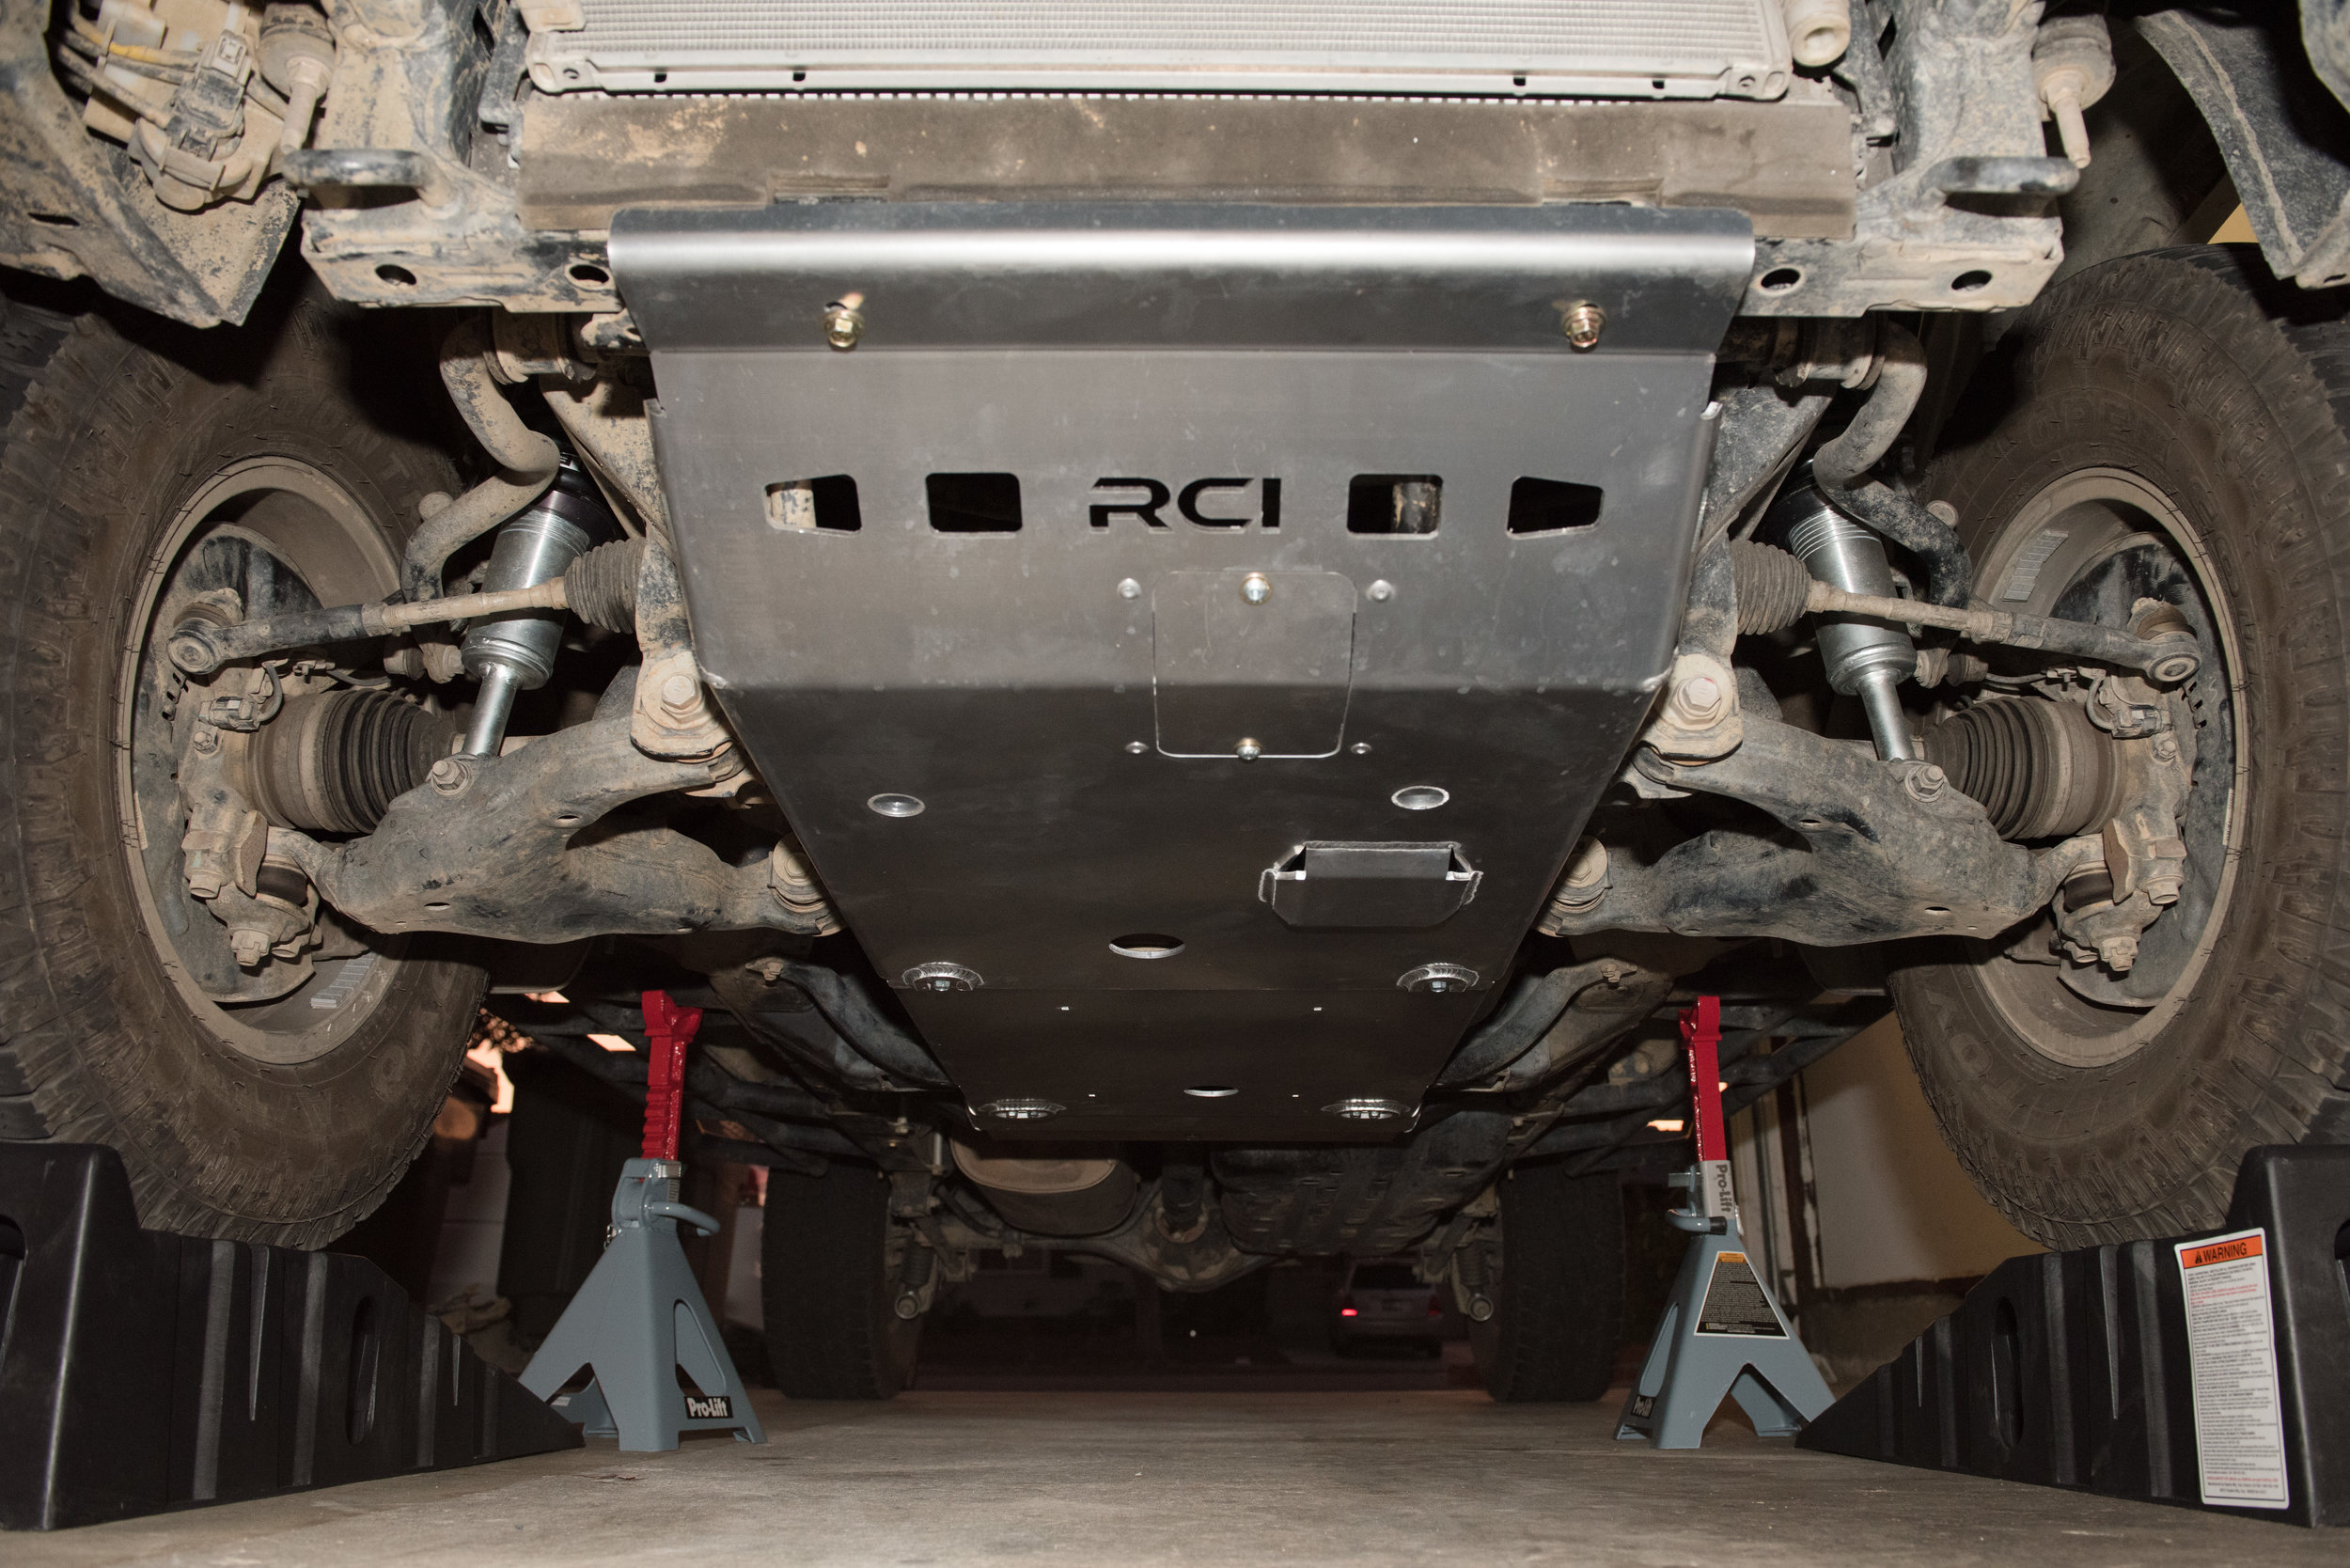
It’s no fun scraping low hanging parts over rocks on the trail, like your lower control arms. A little gut-wrenching, if you ask me. Luckily, there’s a simple solution to that - skid plates! Having previously install RCI’s aluminum skid plate package and rear shock skid plates, I figured it was worth sticking with the branding and installing their A-Arm (Lower Control Arm) Skid Plates. The skid plates are available in three grades: powdercoated 5/16” steel, raw 1/4” aluminum, and powder coated 1/4” aluminum. I chose their 1/4” aluminum which not only saves on unsprung weight (about half the weight of 5/16” steel), but also appealed to me aesthetically. I don’t do any major rock crawling, but the extra peace of mind is always nice to have when going out on trails. Don’t get me wrong, the OEM lower control arms are very stout… but a little extra protection can’t hurt, right?
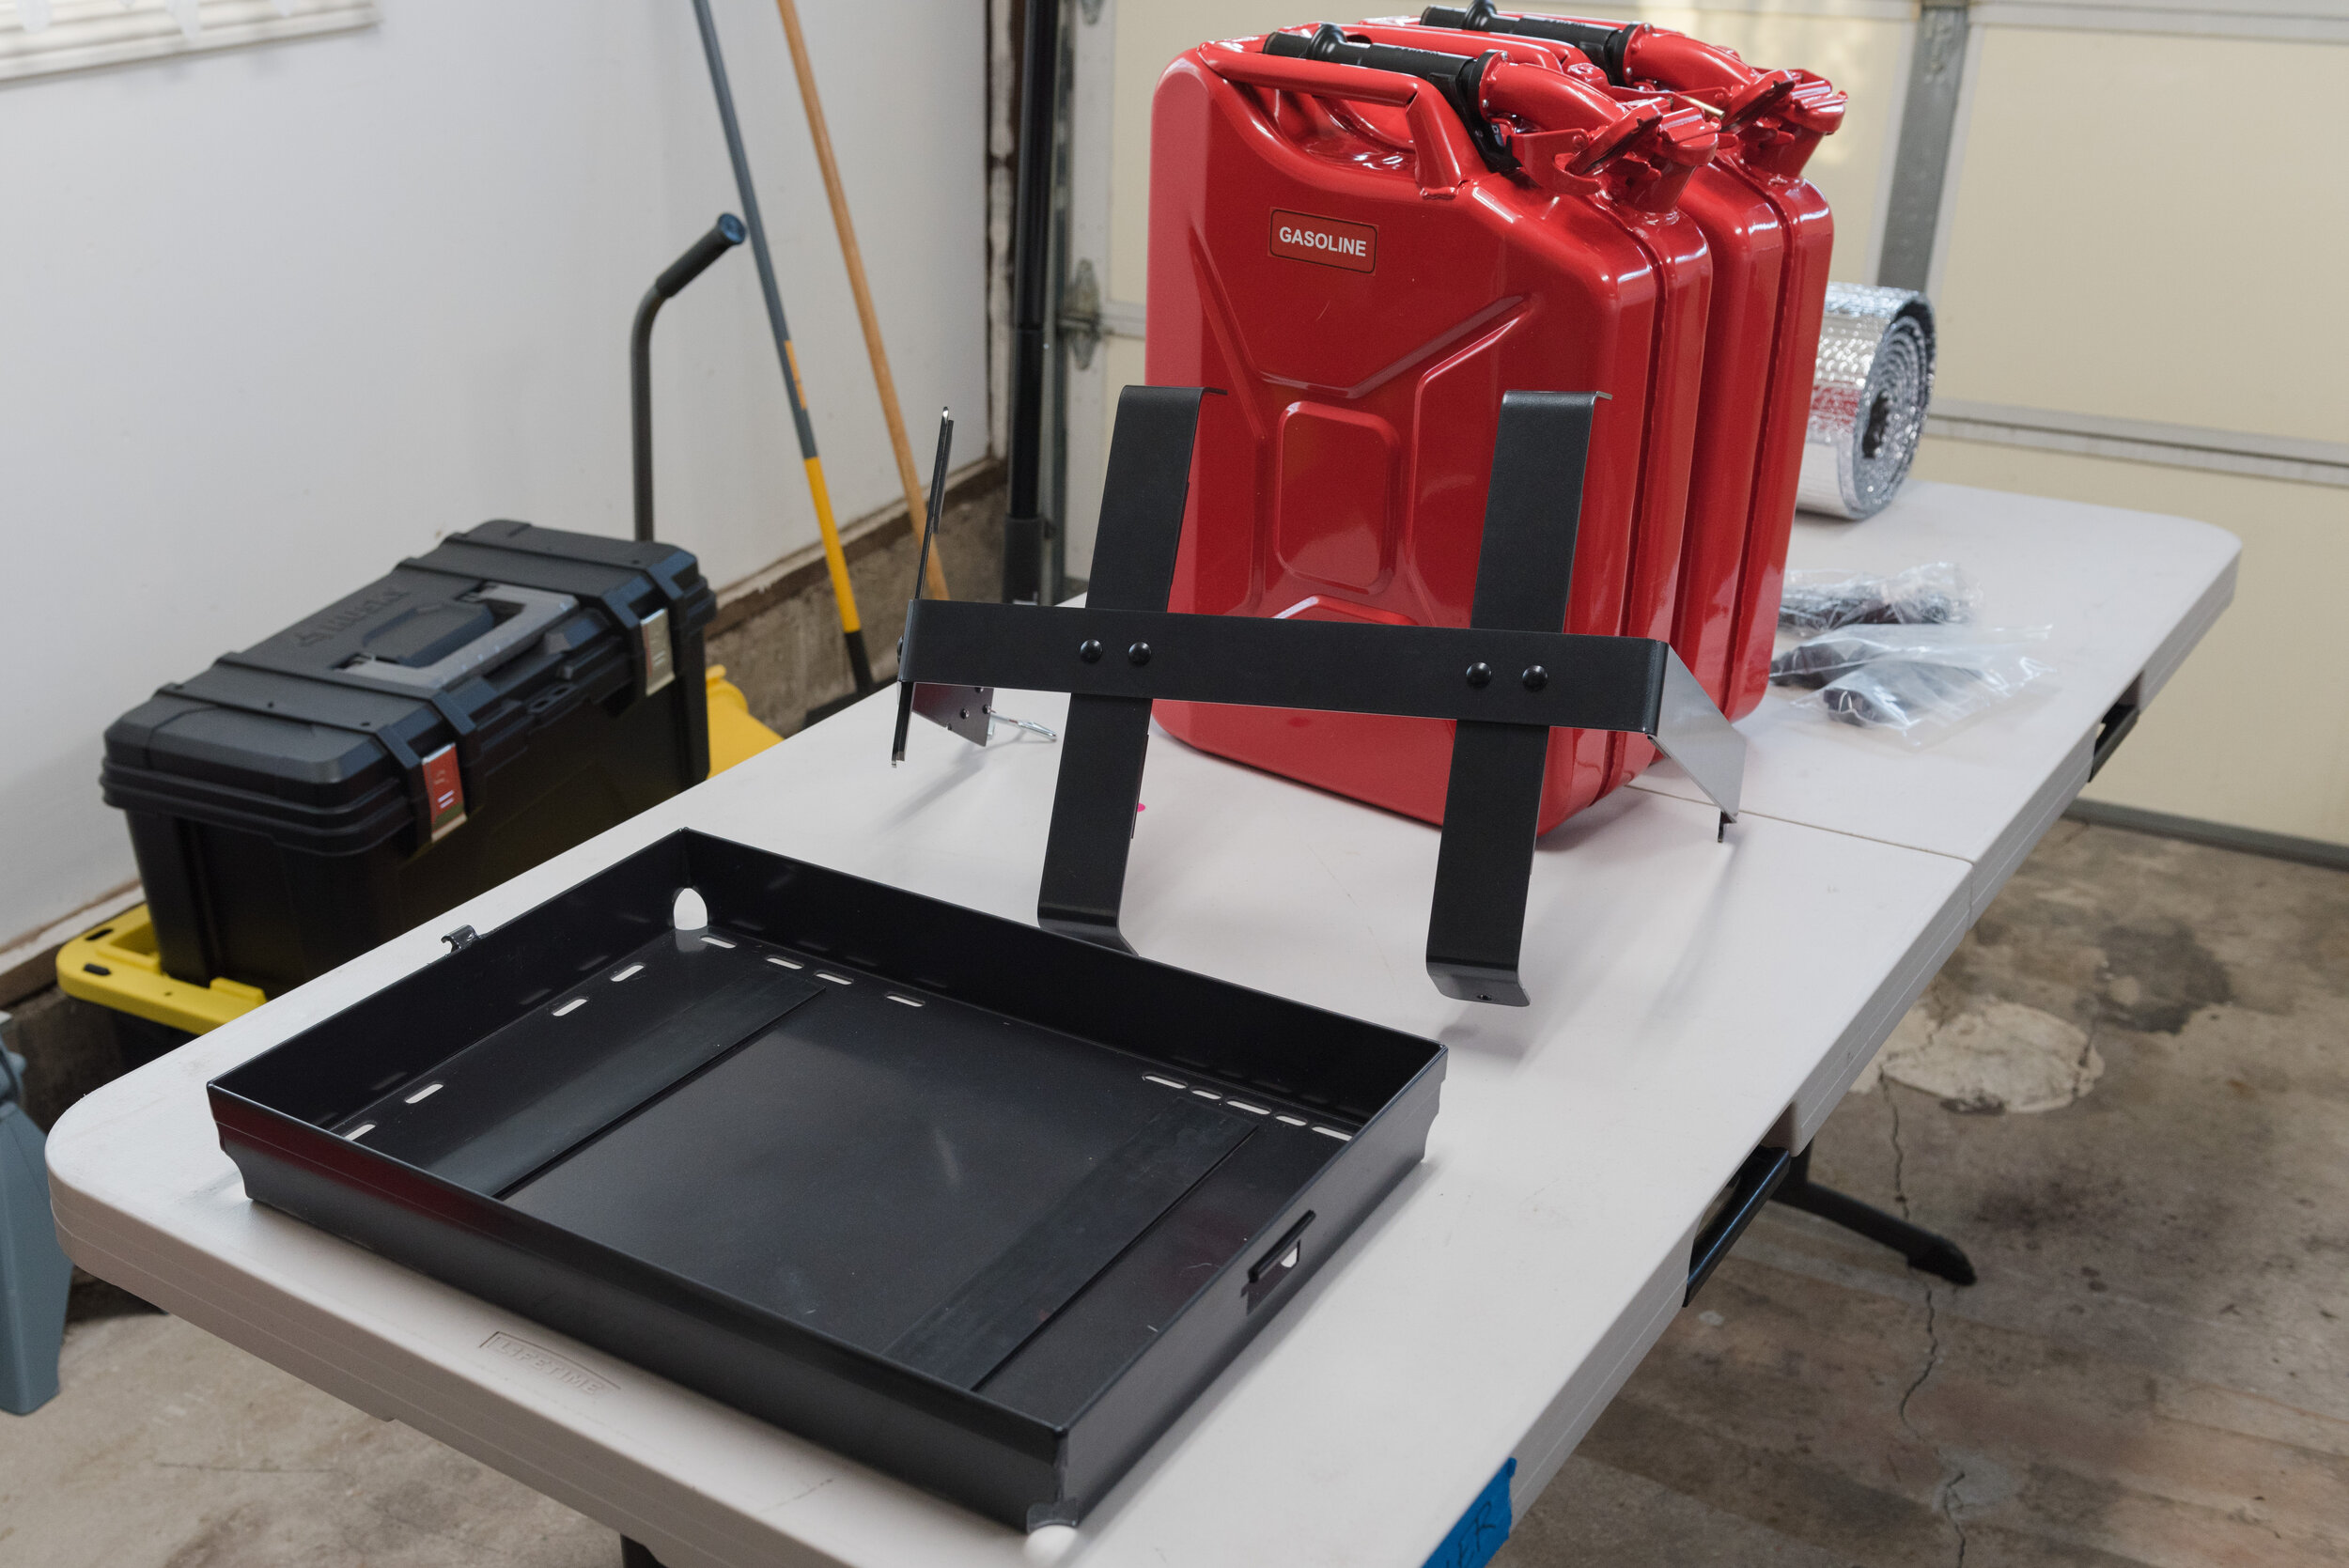
The new skid plates arrived within 2-3 weeks of ordering after a Black Friday sale. They were well packaged, tightly wrapped in thick plastic and paper packaging. The skid plates are sold in pairs (Driver/Passenger) and a generic sealed hardware kit that includes nuts and bolts for 10-20 4Runner/10-14 FJ and 03-09 4Runner/07-09 FJ/05-20 Tacoma. it also includes a paper copy of their installation instructions, which is also available on their website.
Supplied hardware for a ‘10-’20 4Runner includes the following:
2x 1/4” x3” Hex Bolt
4x 1/4” Fender Washers
2x 1/4” Locknuts
2x 3/8” - 3-1/2” Carriage Bolts
2x 3/8” x 4” Carriage Bolts
4x 3/8” Retainer Washers
4x 3/8” Washers and Nylock Nuts
The 3/8” x 3” carriage bolts and 1/4” x 2-3/4” hex bolts can be set aside.
Installing the lower control arm can easily be done with the vehicle on the ground. Overall, the installation instructions that RCI provides is more than adequate to complete the installation. A brief summary is below:
Insert 3/8” carriage bolts through skid plate and secure with retainer washers. The 3” carriage bolt will be at the front of the skid (toward welded flange) while the longer 3-1/2” carriage bolt will be at the rear. The retainers are not necessary, but are helpful if installing solo.
Lift skid plate into position and install 3/8” washer and nylock nuts loosely on top of control arm. Install 1/4” hex bolt through the slot near the tire, with fender washers on both sides and nylock nut atop the control arm. OPTIONAL: Apply anti-seize to bolts before fully tightening all nylock nuts.
Adjust skid plate as necessary (I insured flange wasn’t touching front of control arm and lower cam bolt), then fully tighten all bolts and lock nuts (no torque given, I tightened til hand tight). Note that over-tightening the 1/4” bolt will cause the 1/4” washer to flex and bowl out. Don’t over tighten that one.
Repeat for second skid plate.
Overall, I am satisfied with the fit and finish of RCI’s lower control arm skid plates. They were easy to install and are built to protect the leading edge of the control arm in addition to the front cam bolt head. My only worry is that the skid plates may need to be removed before a wheel alignment. I’m not sure whether or not the skid plate inhibits access to the front cam bolt. We’ll see when the time comes!