We went out to the desert with some friends a few months ago. Our 4Runner quickly filled up with bodies, camp gear, food/drink, and dog kennel - had just enough space to peek out the rear window. Strategically placing our “initial-setup” gear to be easily accessible was a challenge. I had been thinking of adding additional storage space to the roof rack for some time, and finally had the time to implement it.
My only issue with adding a storage case was that our garage entrance is only ~83” high, whereas the top of my roof roof rack was 75" high. This left only ~7” to fit a storage bin without hitting the garage door frame. There are many storage case options out there - I chose the cheapest route that would also fit. There are high-end quality casessuch as those branded by Pelican and Roam Adventure Co, and then there are “get-the-job-done” cases like those sold at Harbor Freight.
I purchased an Apache 9800 Weatherproof Protective Long Rifle Case from a nearby Harbor Freight, using a 20% off Super Coupon, and removed all of the interior foam. The case is only 6” high, which was the maximum height I could afford. Then I purchased the following parts from Home Depot:
Four 3/8”- 16 x 2” Stainless Steel Hex Bolts
Four 3/8”-16 Stainless Steel Nylock Hex Nuts
Eight 3/8” Stainless Steel Flat Washers
The overall idea was to mount the storage case to the roof rack’s 3” crossbars using double-reinforced aluminum flatbars (though U-bolts would’ve probably been cheaper). The reasons I did not want to use U-bolts are:
If the U-bolts face upwards, it might puncture or damage equipment I put into the storage case.
If the U-bolts face downwards, I would have a hard time tightening the nuts without removing crossbars from the rack.
With my solution, I could use a 9/16” socket and 9/16” box wrench to mount/demount the case easily.
Using a hacksaw, cut the aluminum flat bars into four 7” lengths, with the remaining length becoming scrap. On each new 7” flat bar, drill one 5/16” hole 1” in towards the center. Use a vice or vice-grip to hold two flatbars together at a time.
Align storage box on roof rack to desired location. Place flat bars (with holes drilled) in box, and mark locations to drill holes to pass through hex bolts. Remove storage box and holes from roof. Drill 5/16” holes into storage box.
Place storage box back on rack, and align holes with roof rack crossbars. Insert hex nut with one flat washer down through each hole. Place flatbar under crossbar, and fasten flat washer and nut to each bolt. Use a 9/16” socket to turn the hex bolt while holding the bottom hex nut with a 9/16” box wrench.
I’ve driven through and been parked outdoors in heavy and light rain with the storage case on the rack without experiencing any leaks. At first I used regular hex nuts, which were a terrible idea since they slowly loosened over time going over gritty terrain. Since, I’ve switched to nylock hex nuts (as written) and they’ve held fast, so far. Currently using two long cases with the following load-out:
Case 1: Recovery
Soft shackle
30’ recovery strap
Three 5’x7’ tarps
Collapsible e-shovel
Tool roll with various tools (wrenches, pliers, screw drivers, socket nuts and ratchets, allen keys, etc)
Tire plug kit
Spare tire lug nuts (for OEM steel spare)
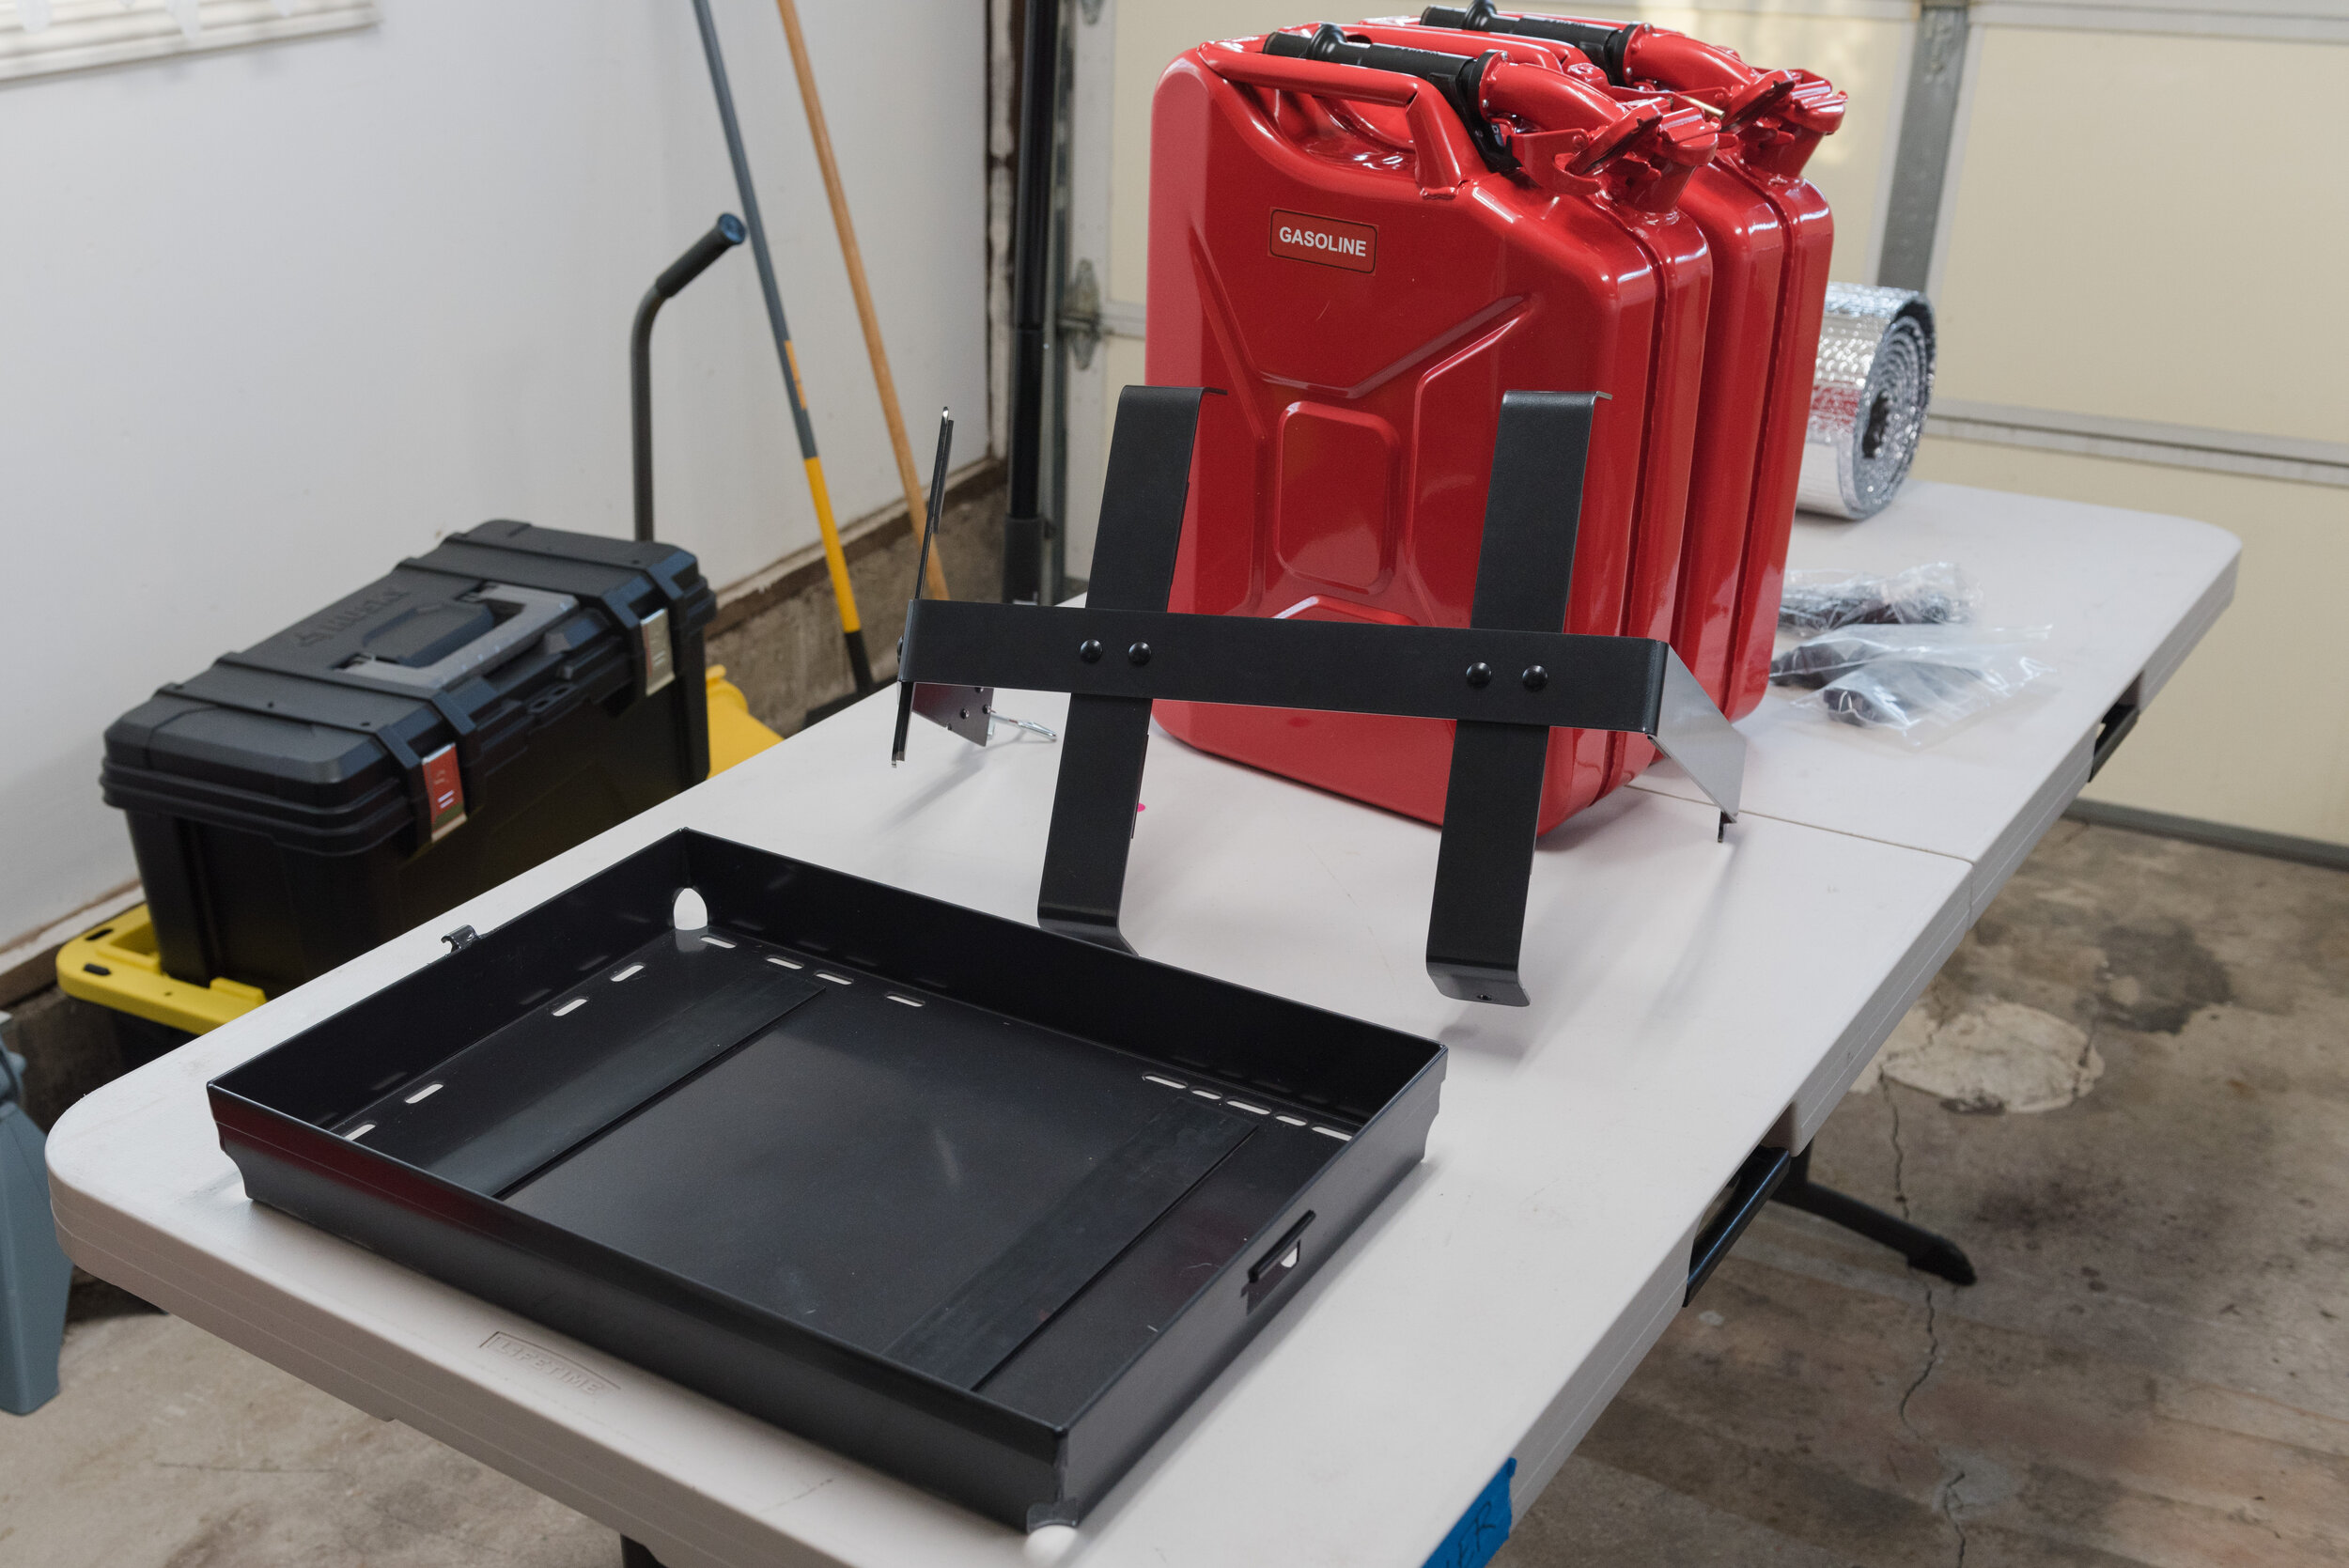
Gas can spout
Case 2: Camping
43” collapsible aluminum camp table (This thing rocks!)
Two camp propane canisters for stove
Two collapsible camp chairs (similar product)
Small 2’x3’ rubber floor mat to place in front of tent